How to mint an NFT using QAF? No code needed.
Kerem Sözen • May 11, 2023
This blog post will show you how to mint a single ERC721 NFT Item to show how No-code NFT Minting works in
QAF NFT.
If you follow up all the steps, you will create your first NFT with QAF NFT without using any code.
Click here to go the Sandbox
Use the image sliders to see the step's illustrations.

- First, you need to be signed up and logged in to the QAF NFT Backoffice. If you do not have an account click here to sign up.
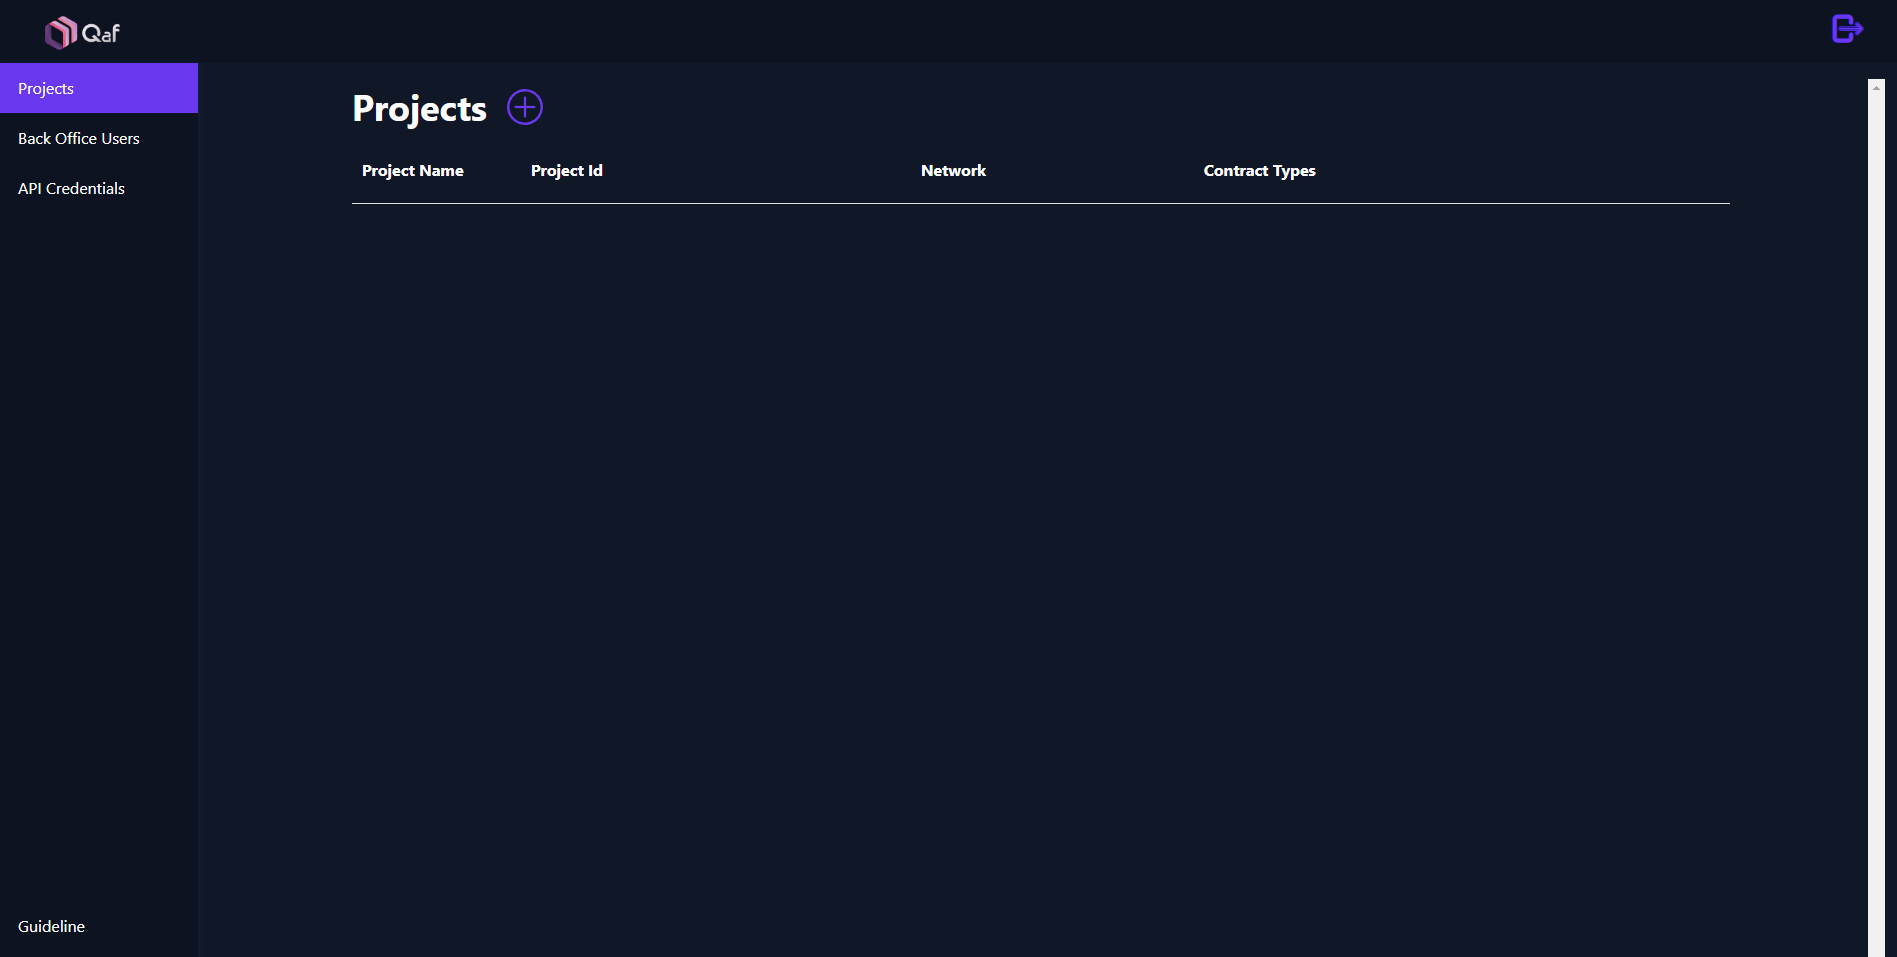
- Then, you need to add your project to deploy your contracts and mint your NFTs.
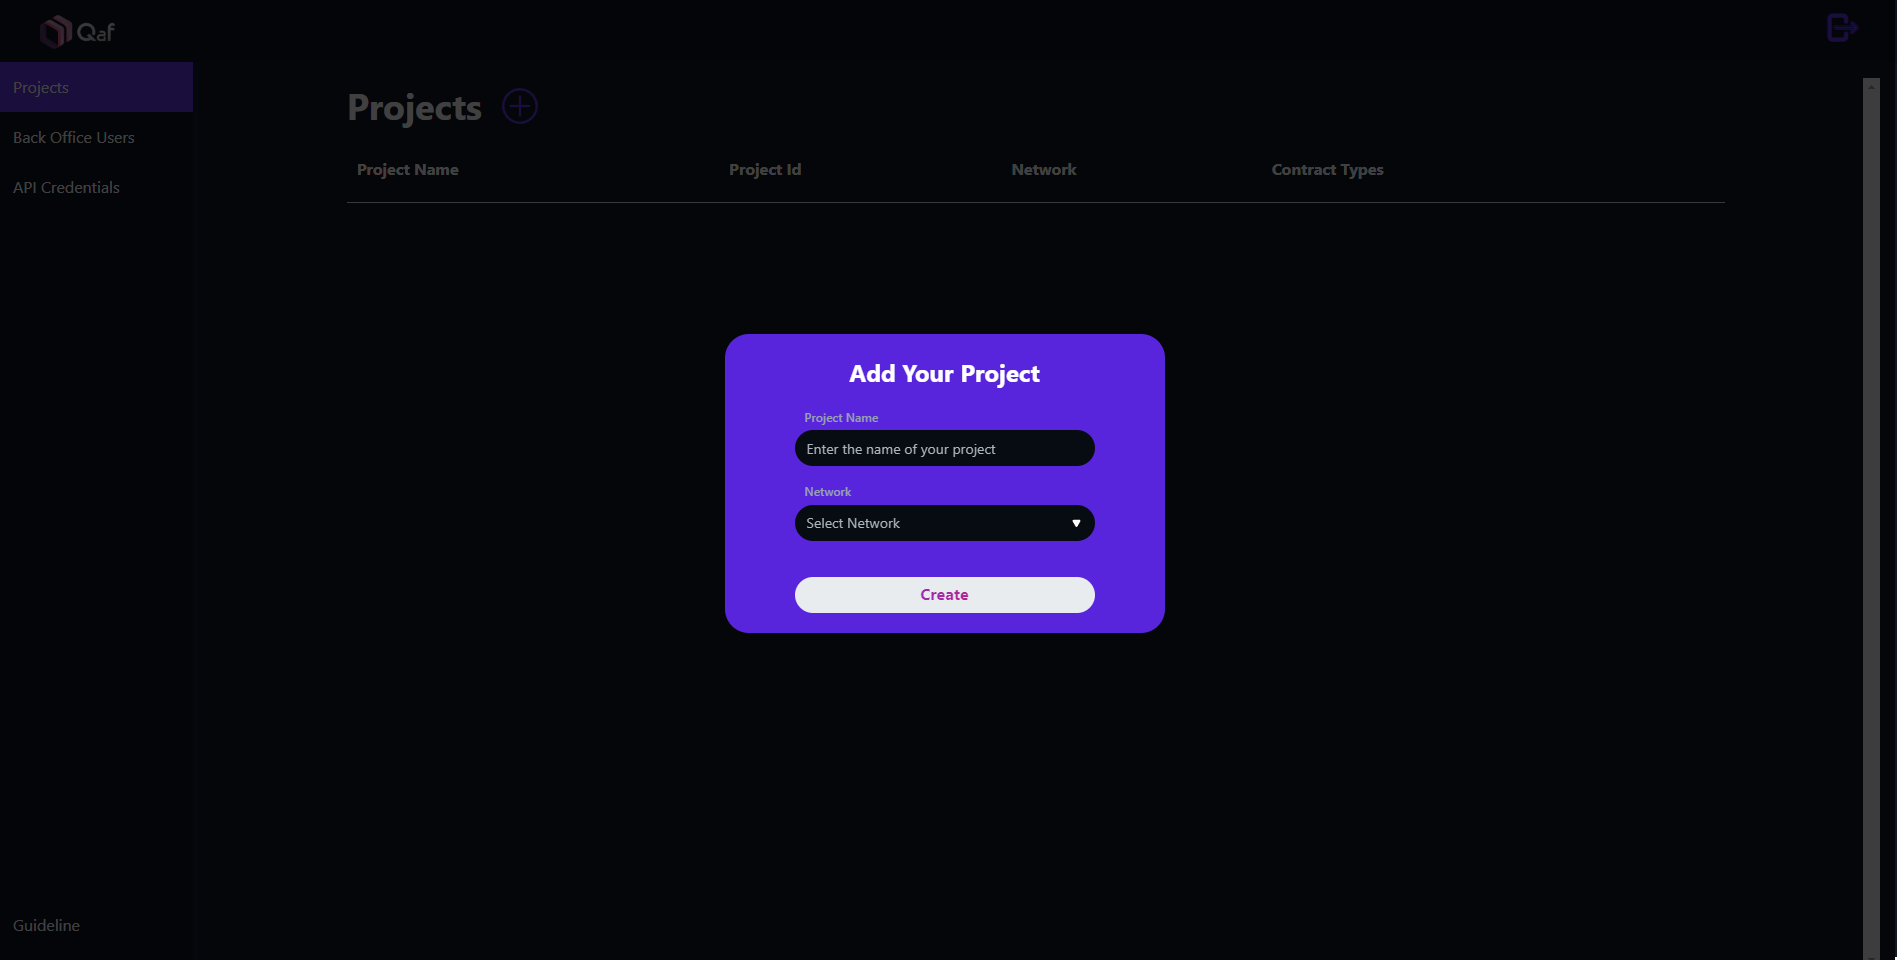
- Click the + button next to the Projects text to create your project.
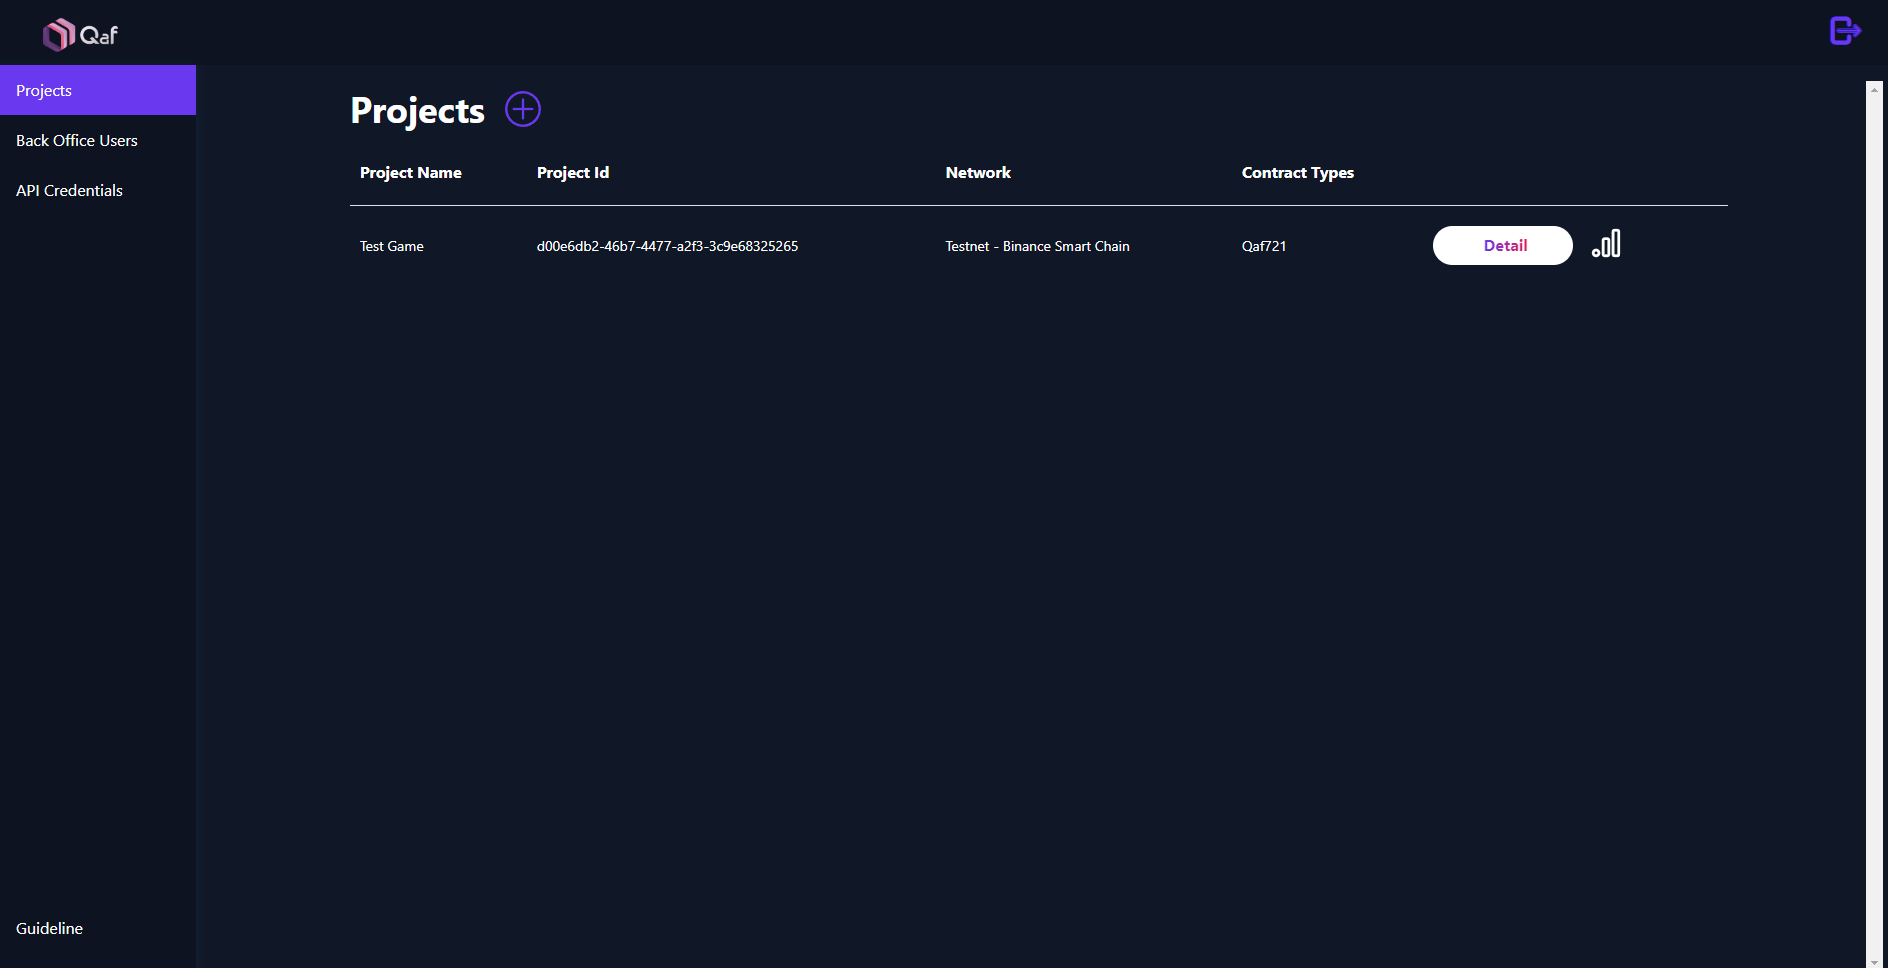
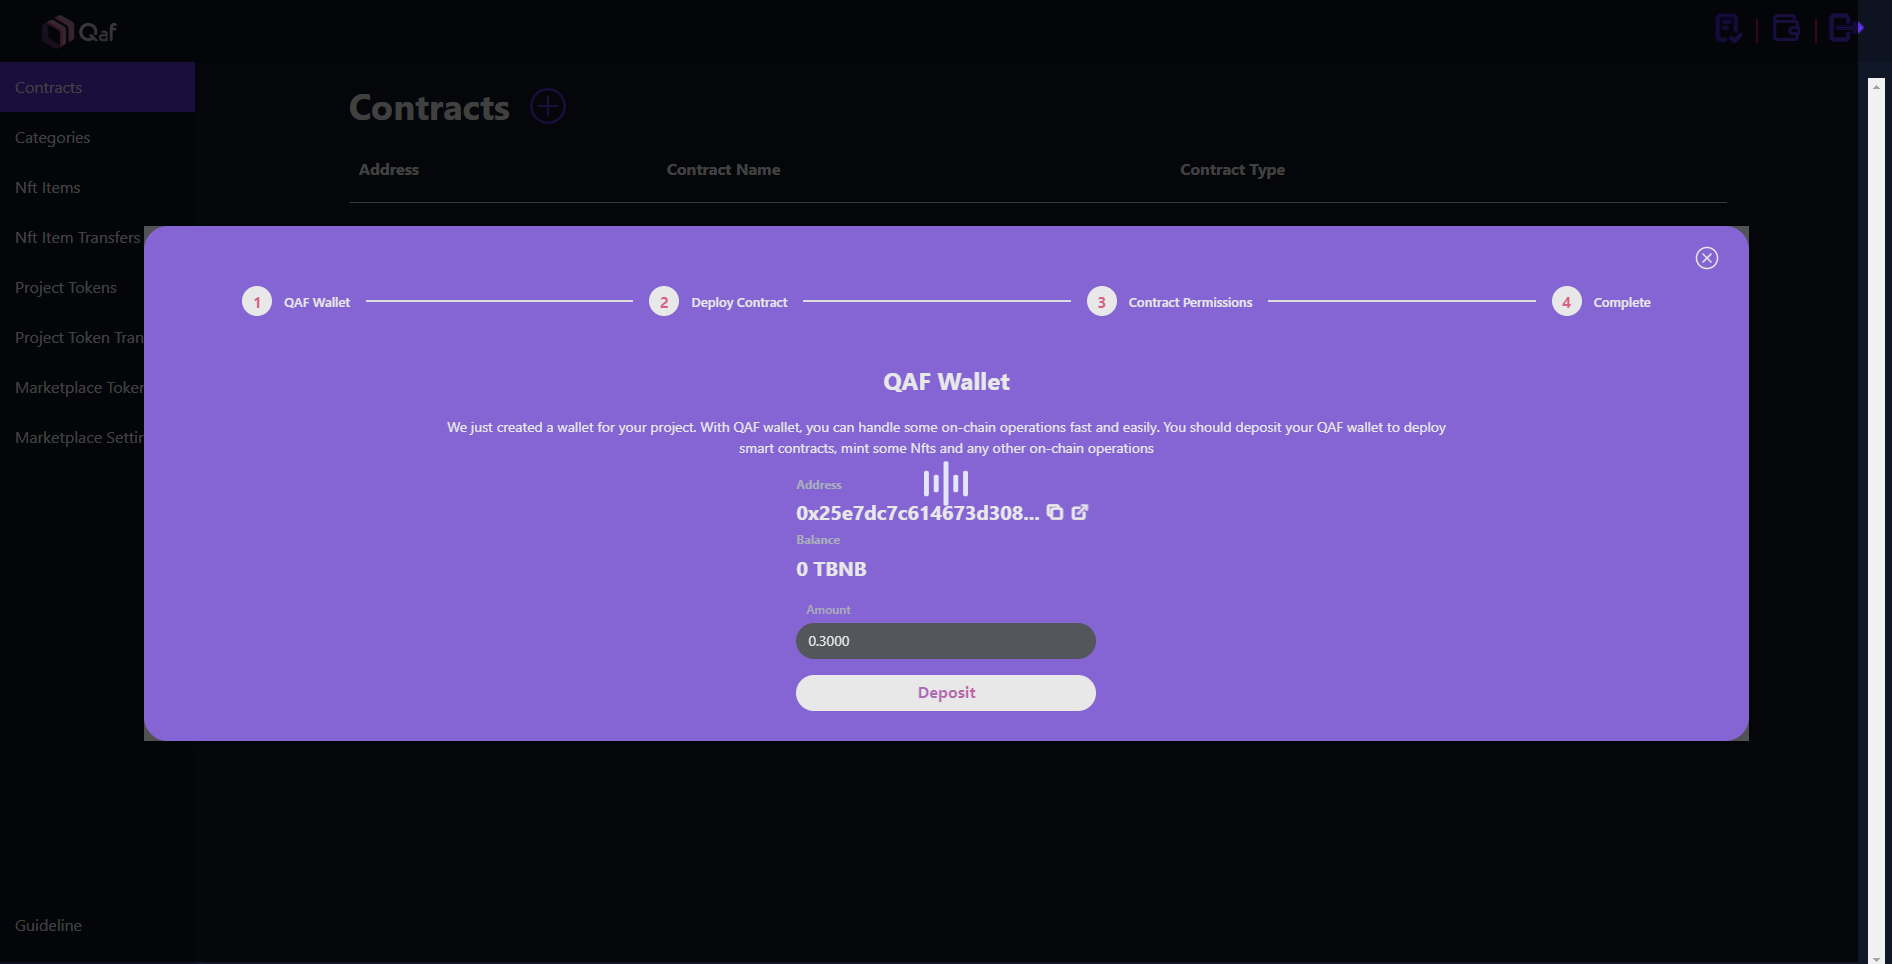
- After you create your project, a wallet will be created for your project's back office transactions.
- You should deposit some funds (currently TBNB or Mumbai MATIC) to your wallet, so it can interact with the blockchain.
- You can achieve this by following the instructive steps after you onboard your project's back office.
- You will also deploy your first contract by following these instructions. Detailed contract creation is mentioned below.
- I will use BSC Testnet for this post. Therefore, I send TBNB to my wallet from my non-custodial wallet.
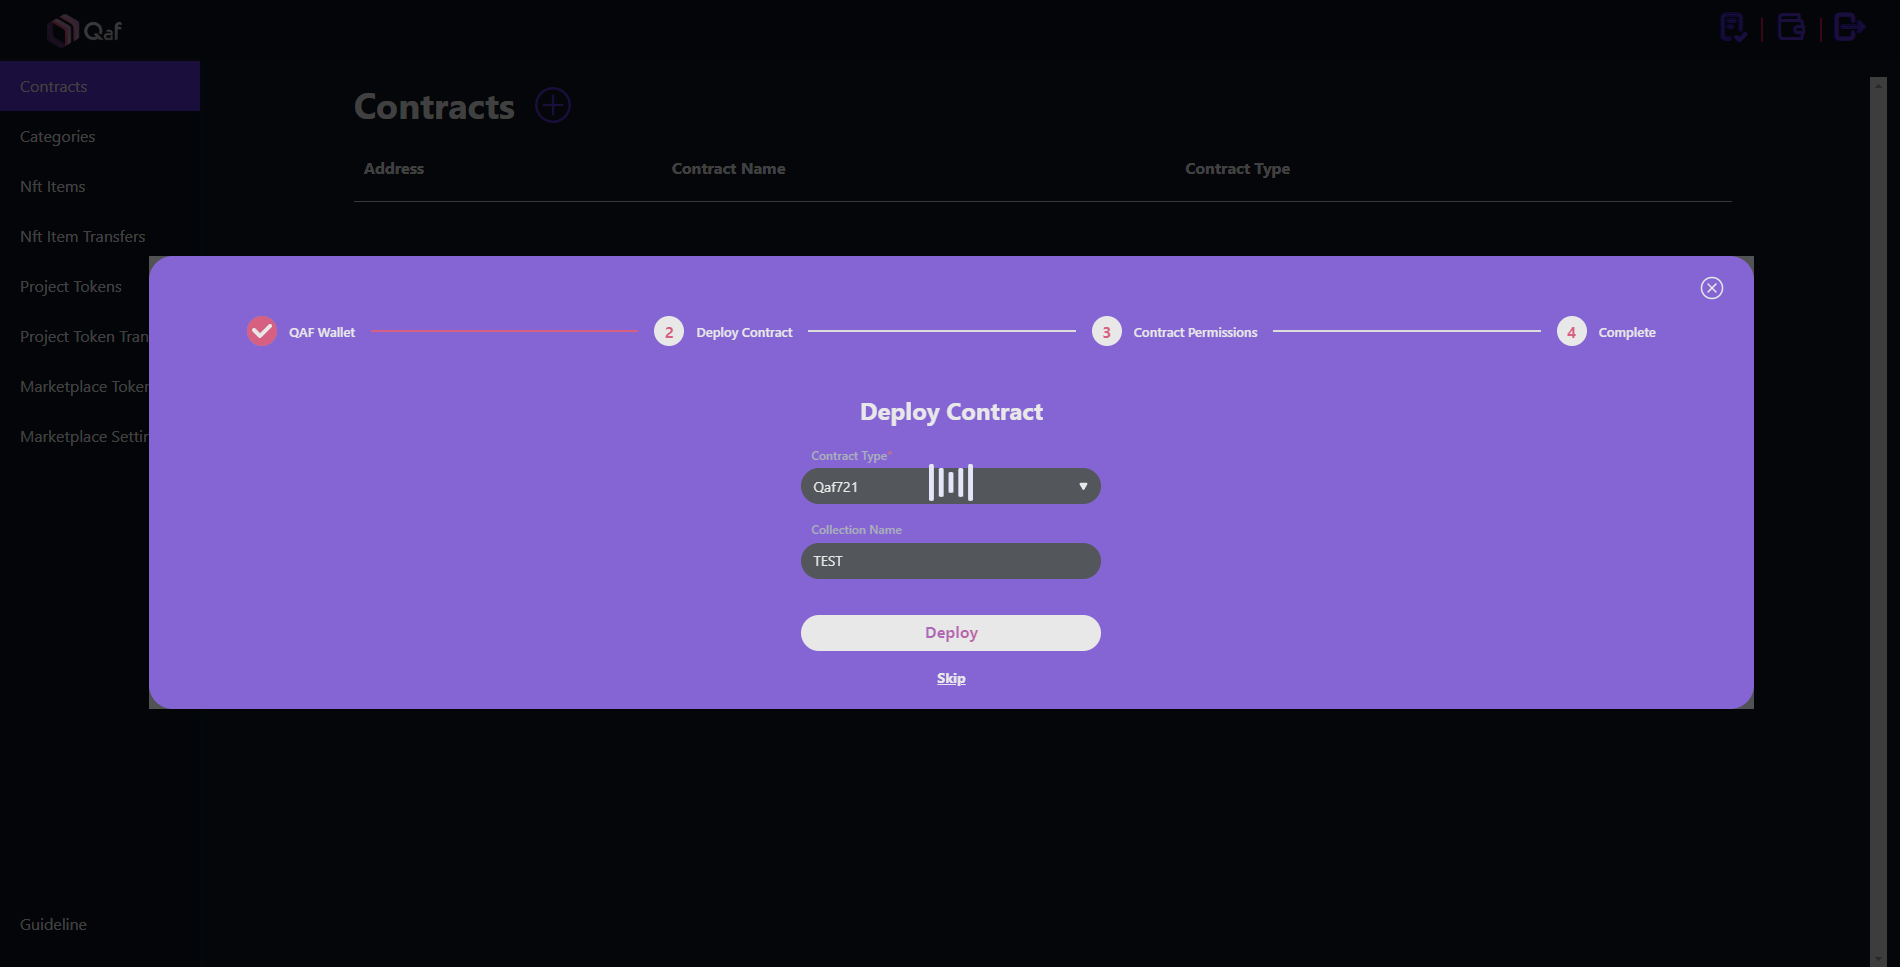

- After you have enough funds to deploy contracts, go to the Contracts menu.
- Click the + button next to the Contracts text.
- Select your Contract Type and give a name to your contract (NFT Collection).
- Then click the Deploy button.
- I will use QAF721 Contract (ERC721) for this post.
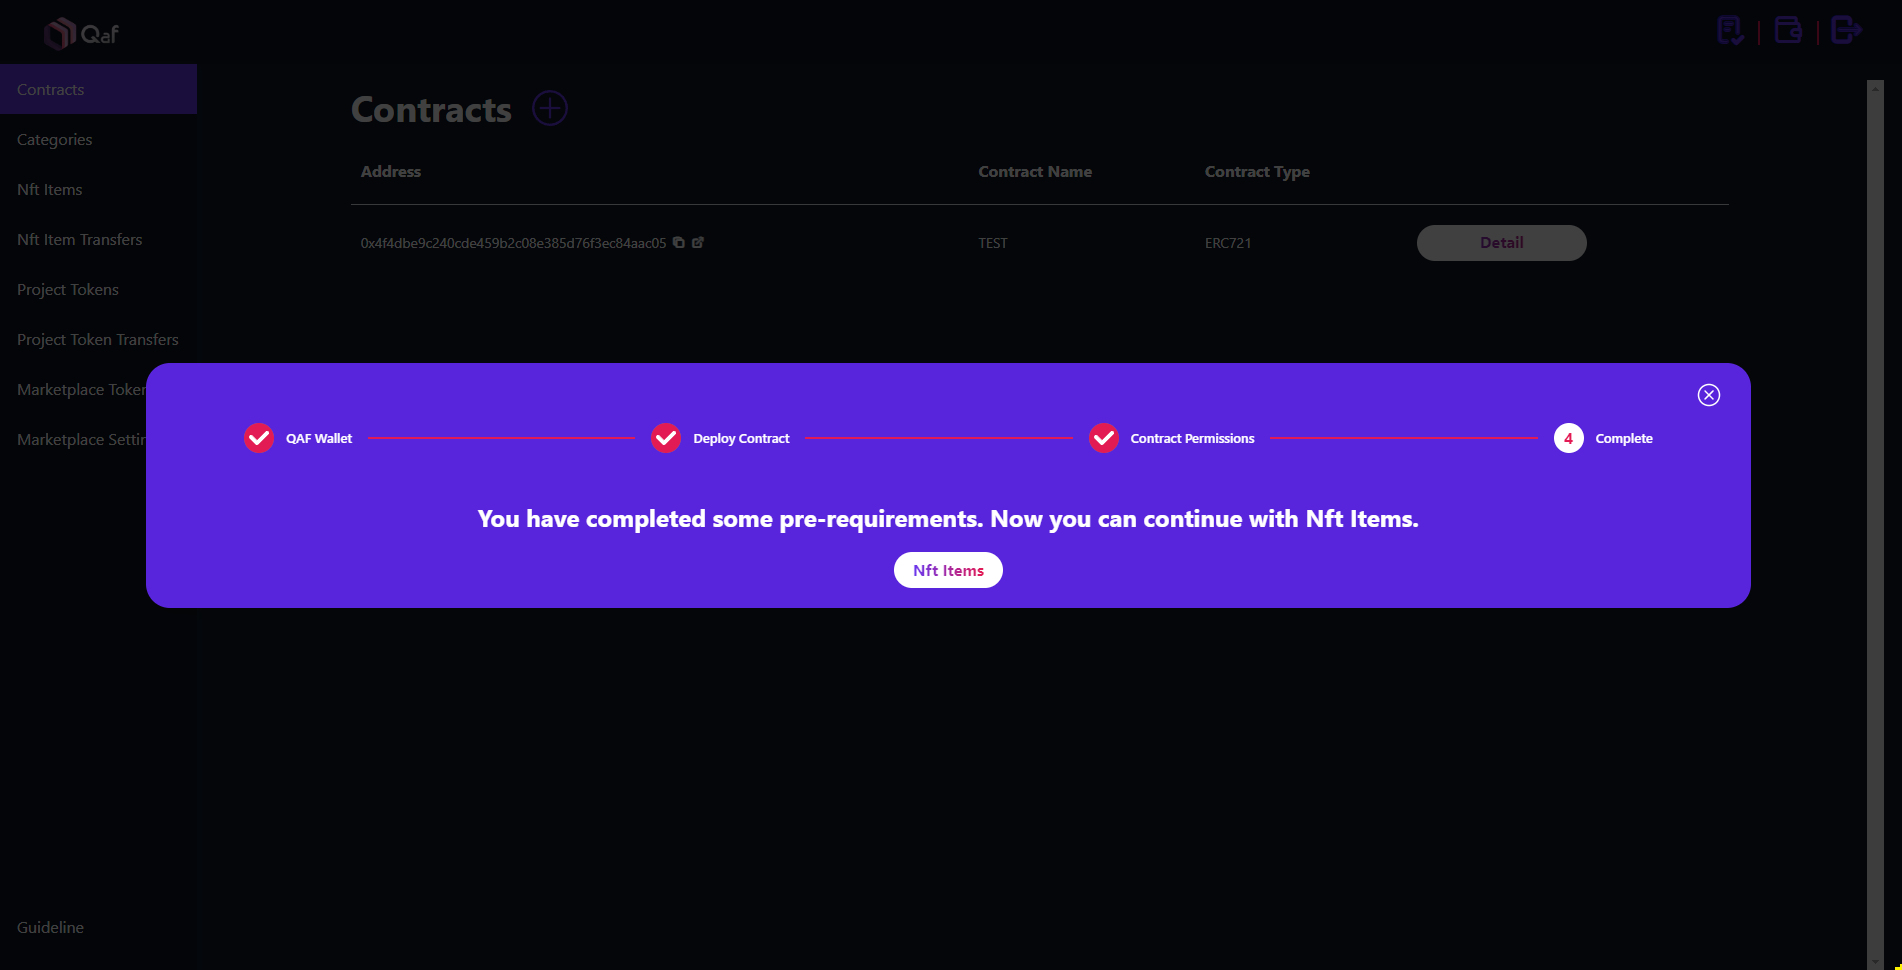
- You will not get any transaction pop-up from your non-custodial wallet because this transaction will be executed by the wallet created at the beginning. Therefore, you do not need to confirm the transactions over and over and waste your time.
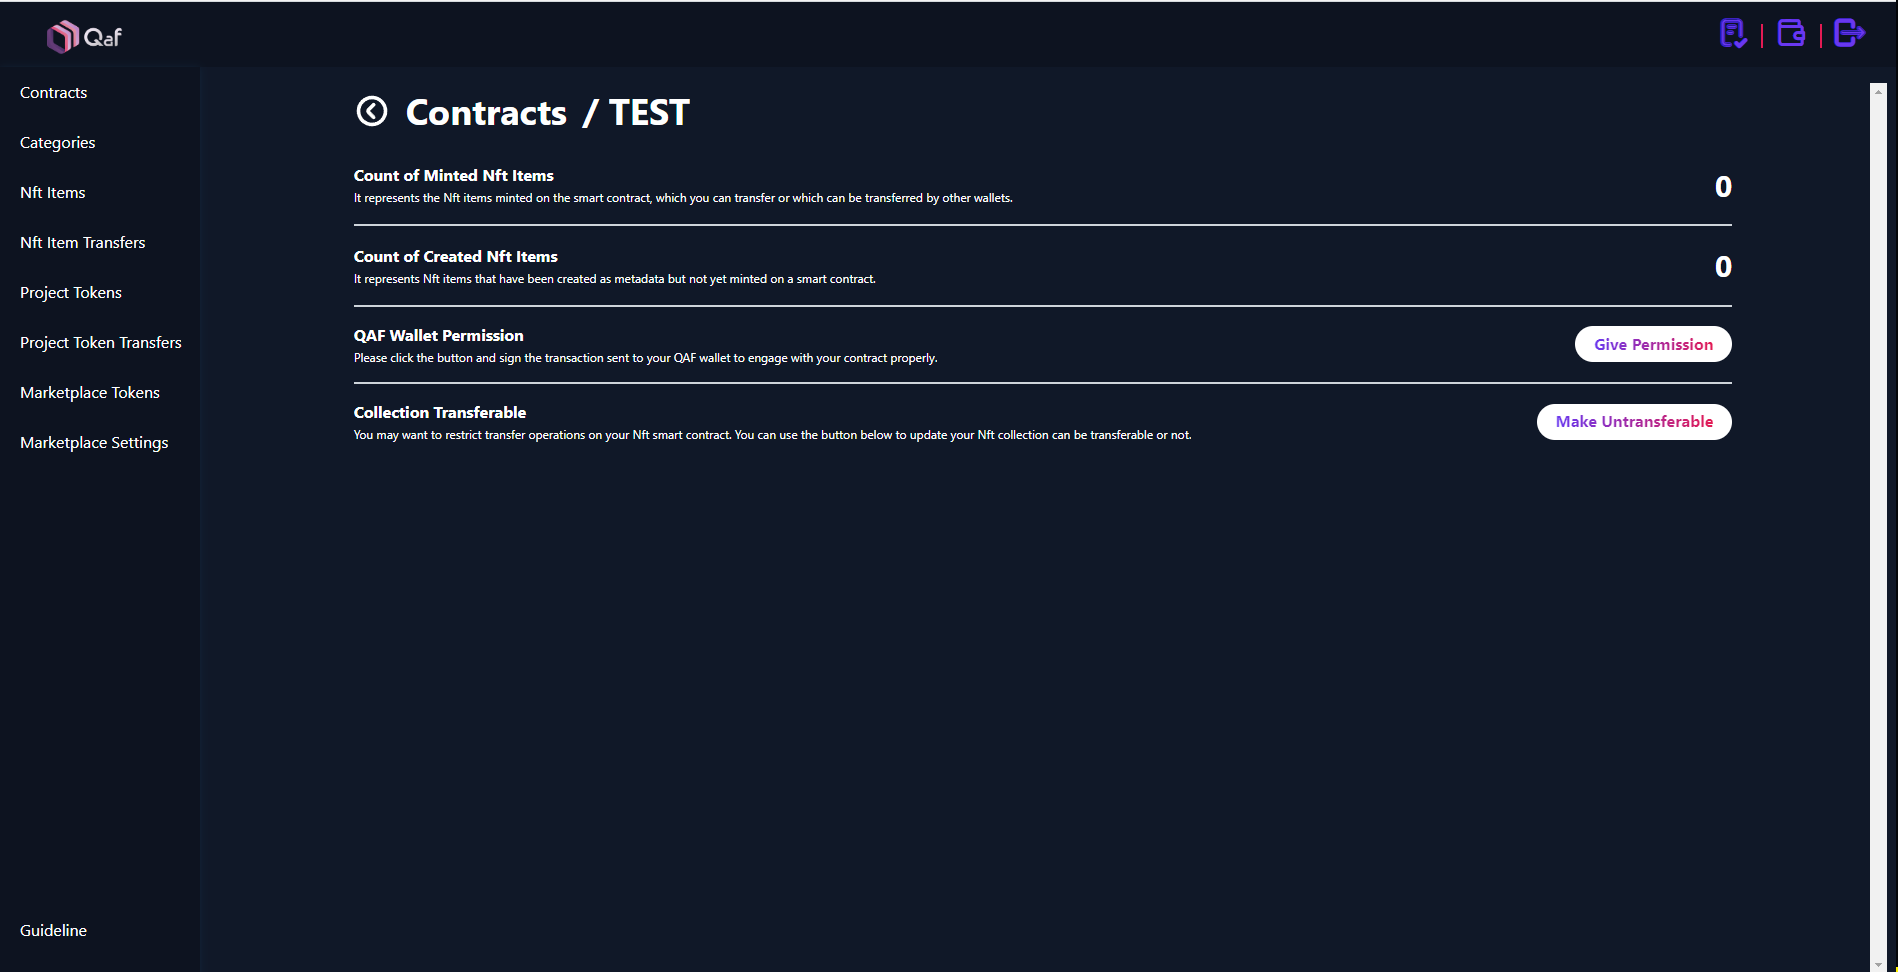
- After you create your ERC721 contract, you should give a permission to your wallet to access your non-custodial wallet's NFTs for further process.
- You can also revoke the permission you gave, if you like to.
- Again, if you've followed all the steps from the instructions at the beginning, you should have also gave the permission to the contract you've created.
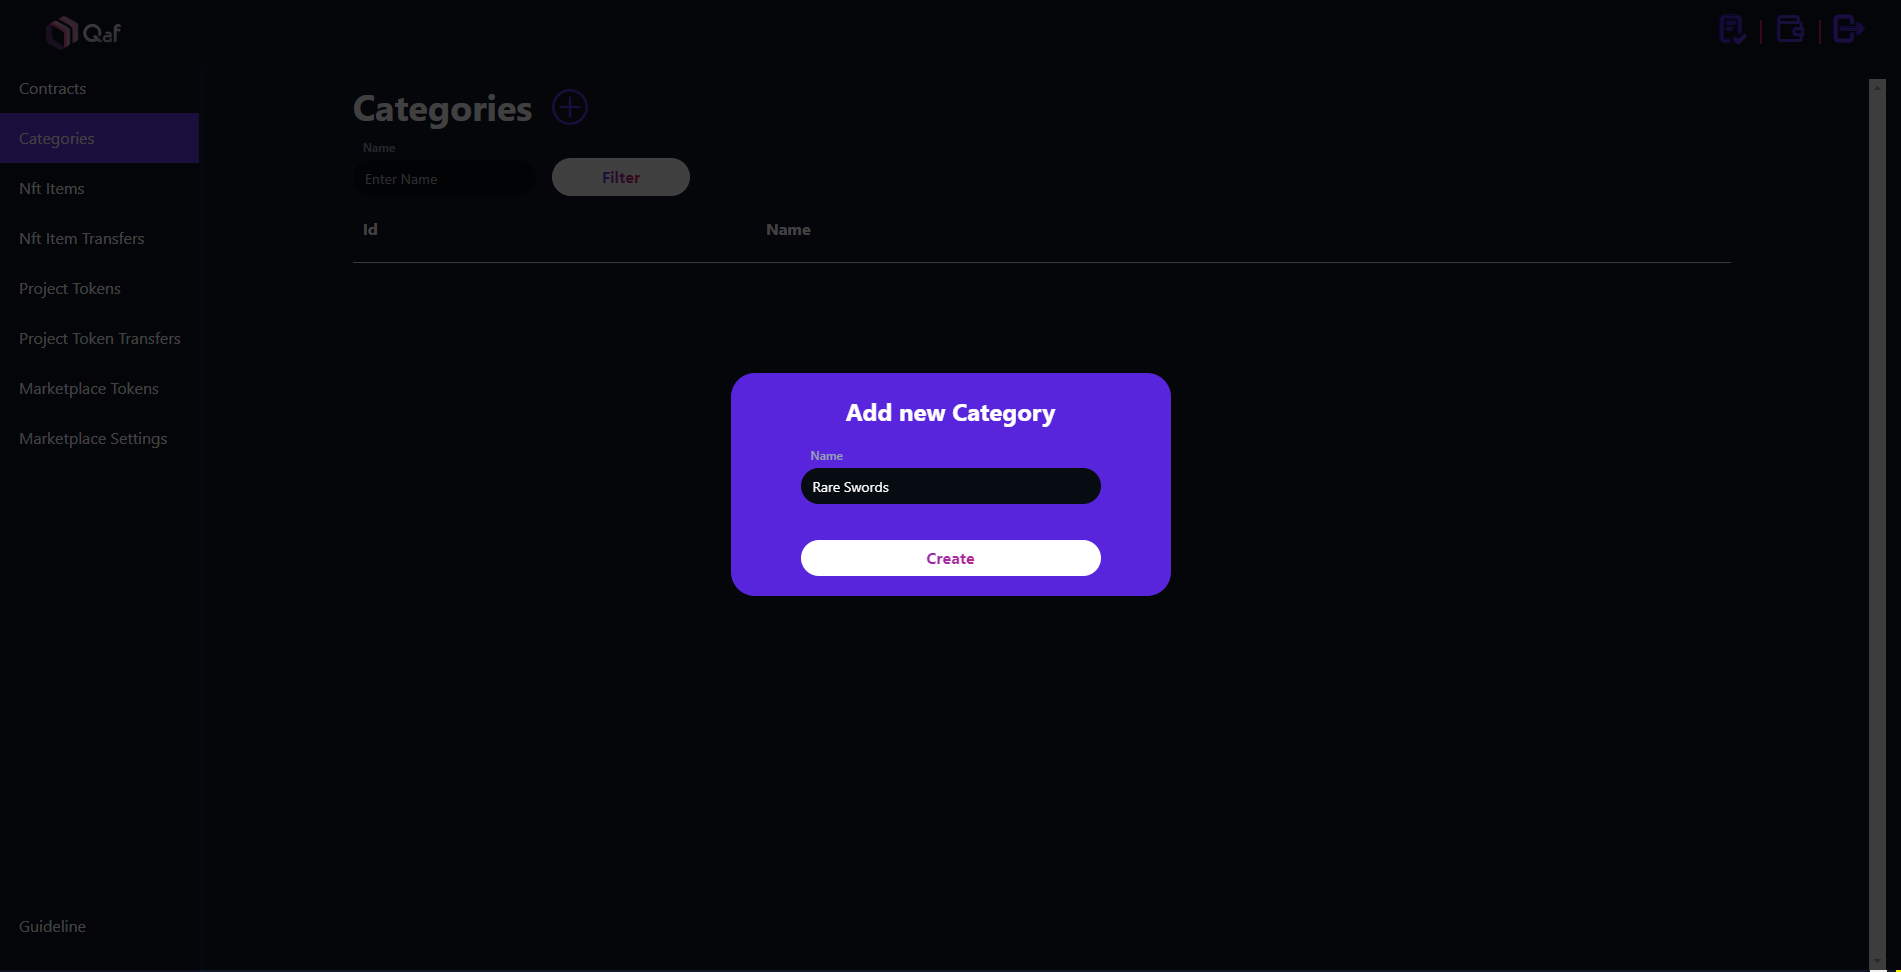
- Now, you need to have a Category to mint your NFT. When you create our NFTs you will choose a category for them. Let's create a category.
- Go to Categories menu.
- Click the + button next to the Categories text.
- Enter your Category Name.
- Then click the Create button.
- Note: You can edit your category names afterwards.
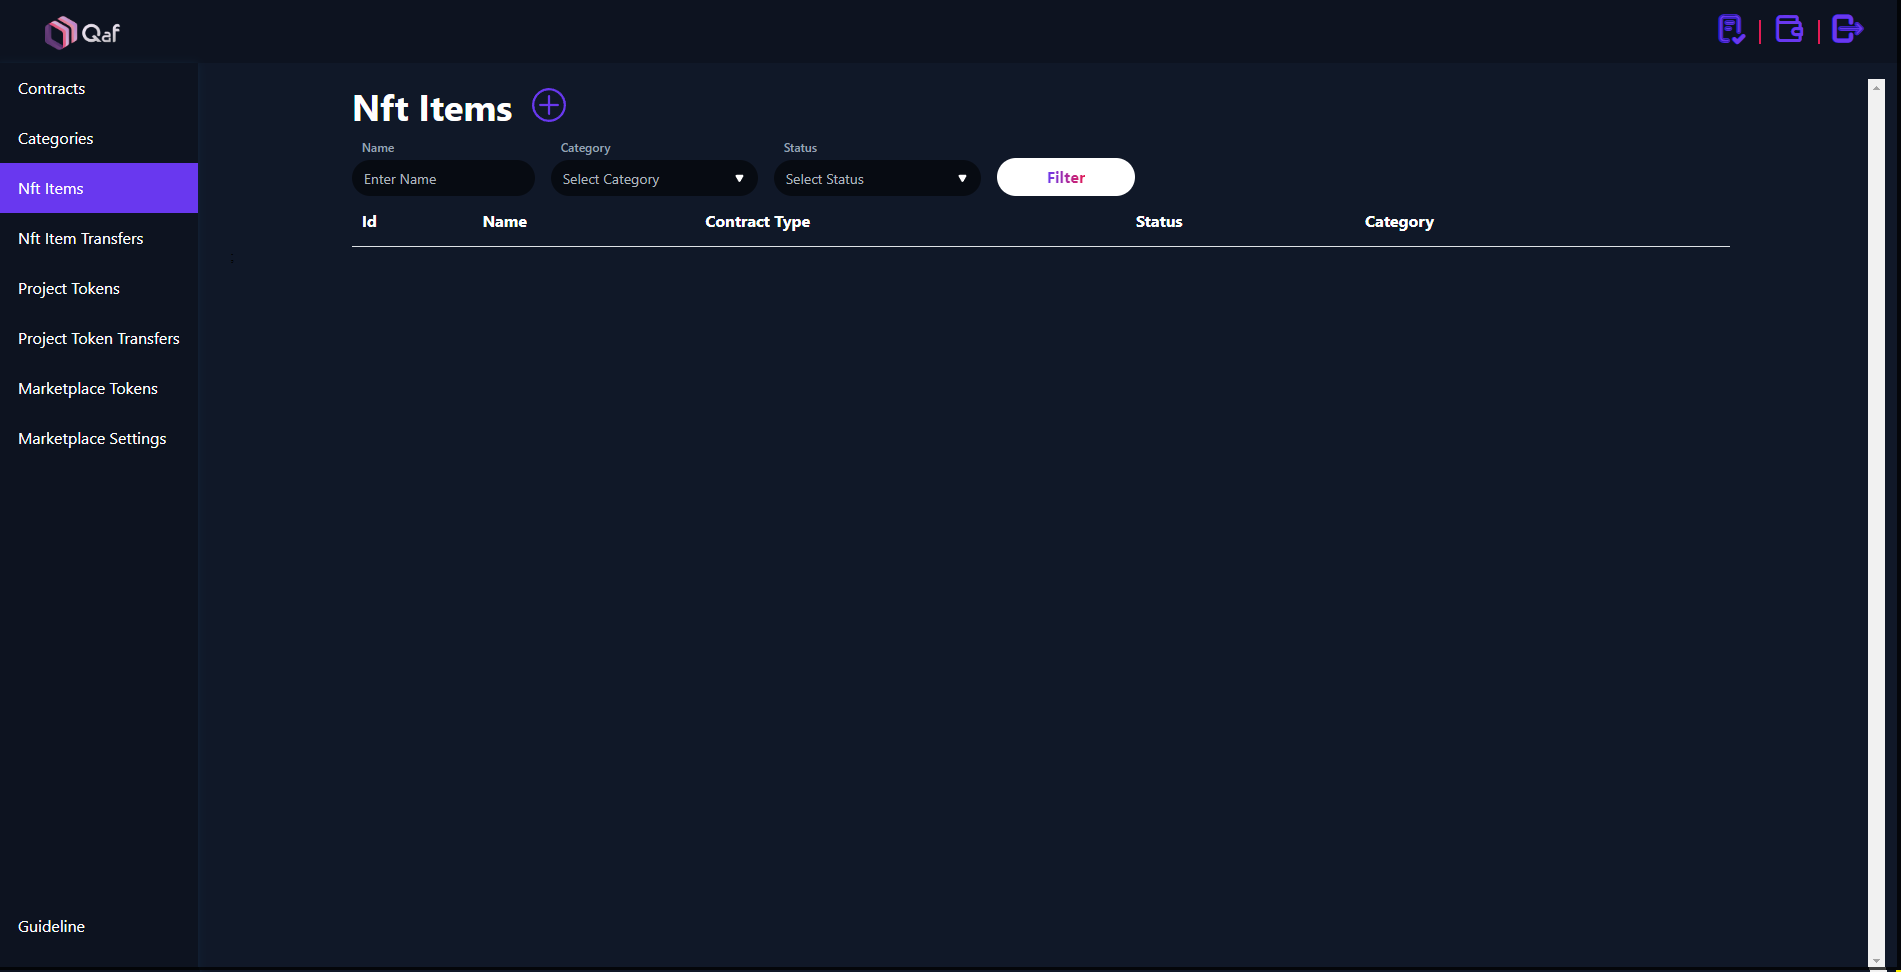
Now, it is time to create your NFT!
- Go to NFT Items menu.
- Click the + button next to the NFT Items text.
- Click the Create NFT Item (We will not select Create NFT Items with File for this guide, it will help you to create NFTs in batches).
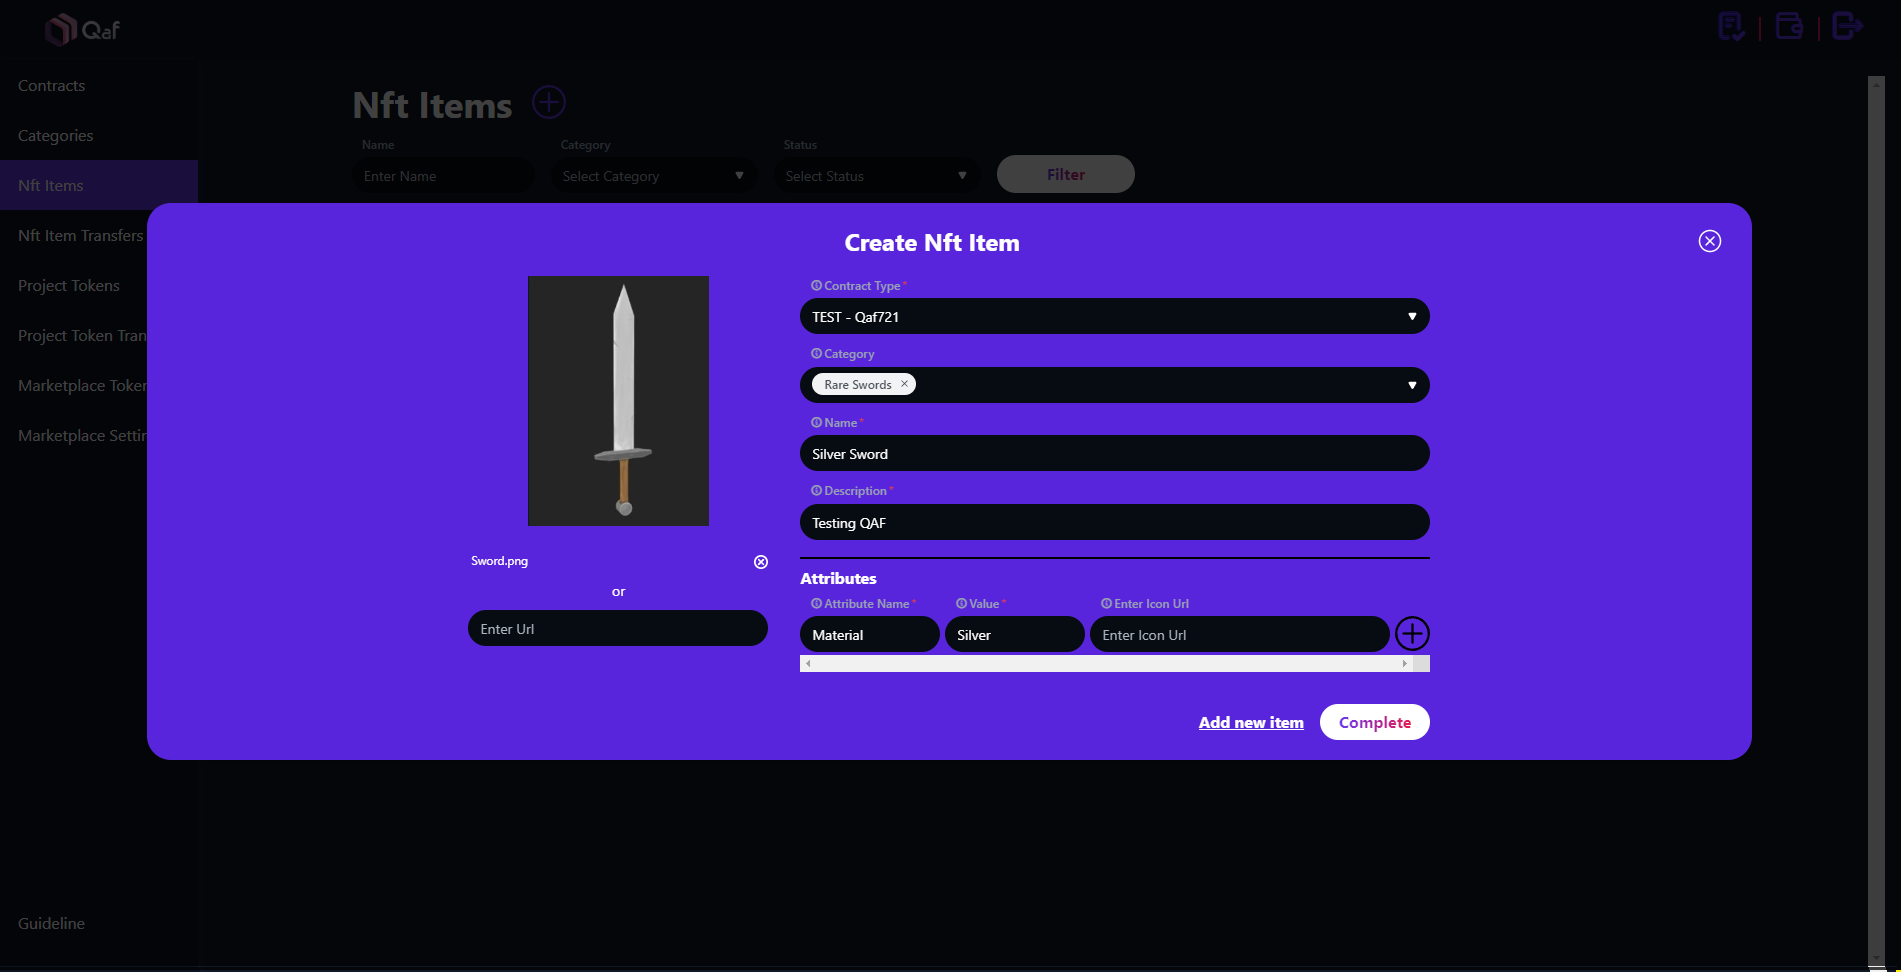
- Upload an image of your NFT item or enter a URL of it if it is uploaded to.
- Select your Contract Type, select your Category, enter your NFT Item Name and Description.
- Then, define your Attributes for your NFT item.
- Click the Complete button.
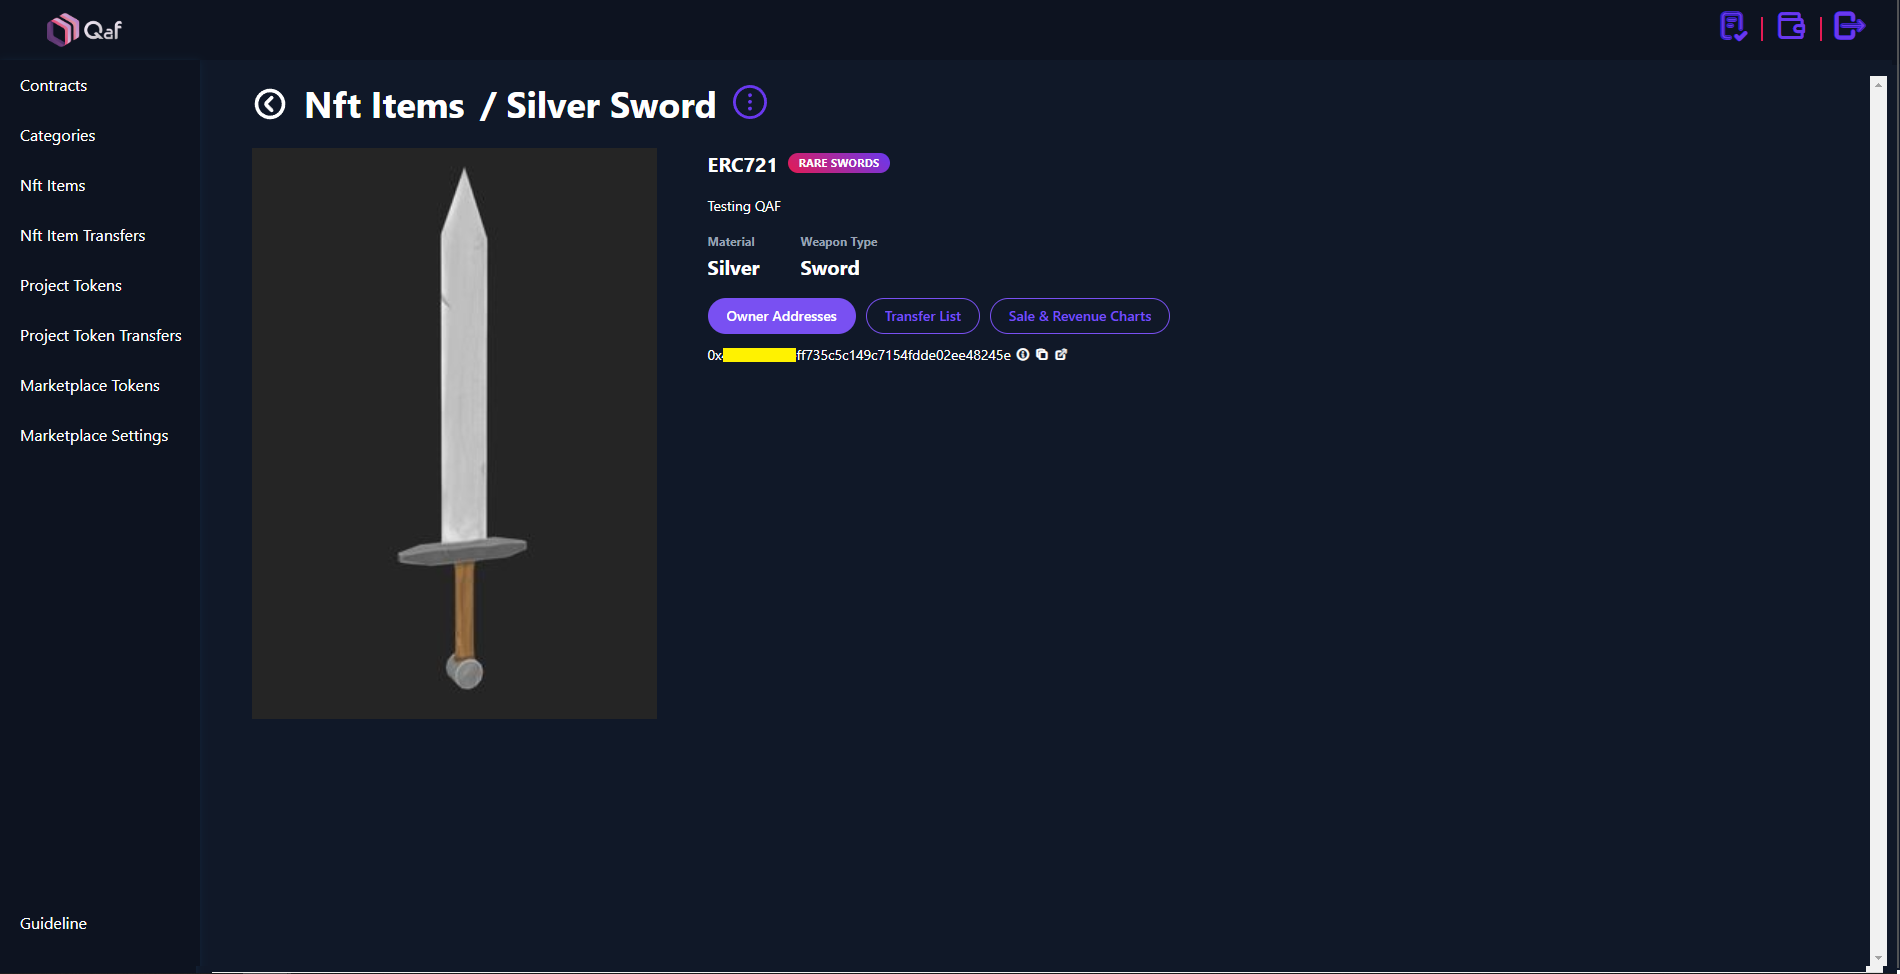
Now your NFT Item can be seen on the table, you can go to details of the item and change the name, description, image, category and attributions of the item. That is because we store the metadata off-chain, this will provide you to execute transaction cheaper and flexible NFT items.
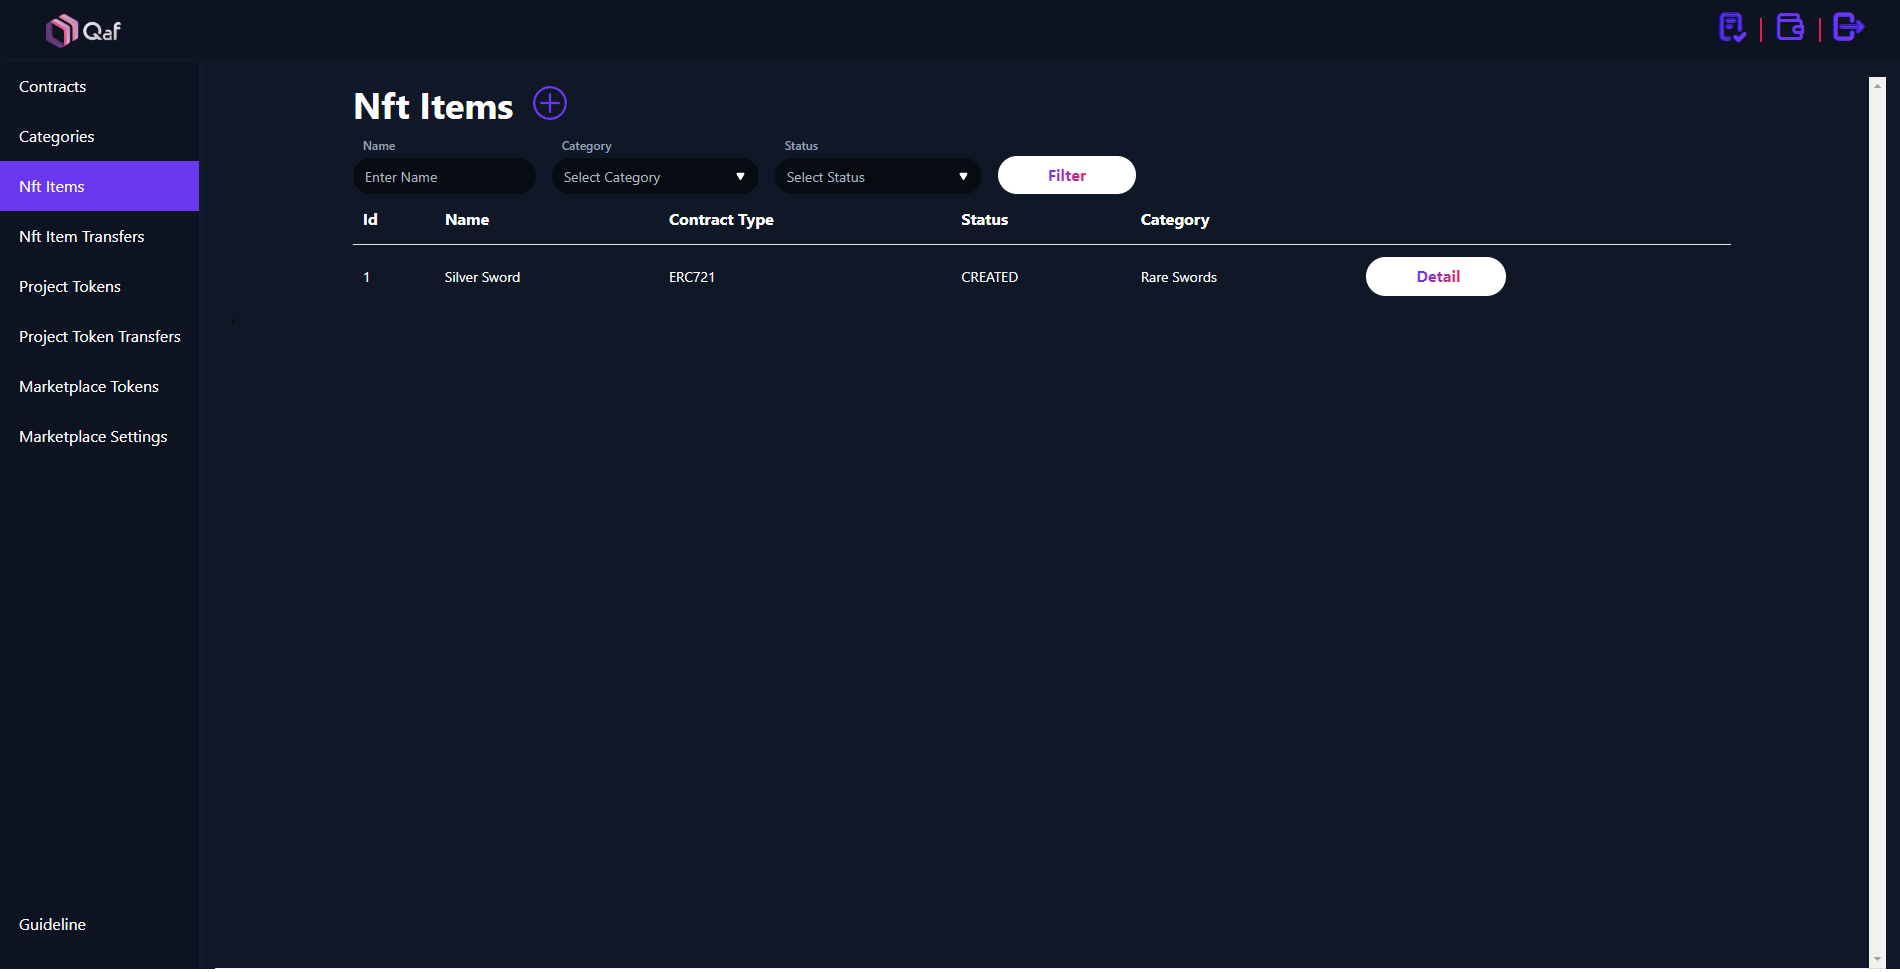
- Wait, do not get excited... You did not minted your NFT yet.
- Go to NFT Items menu.
- Click the + button next to the NFT Items text.
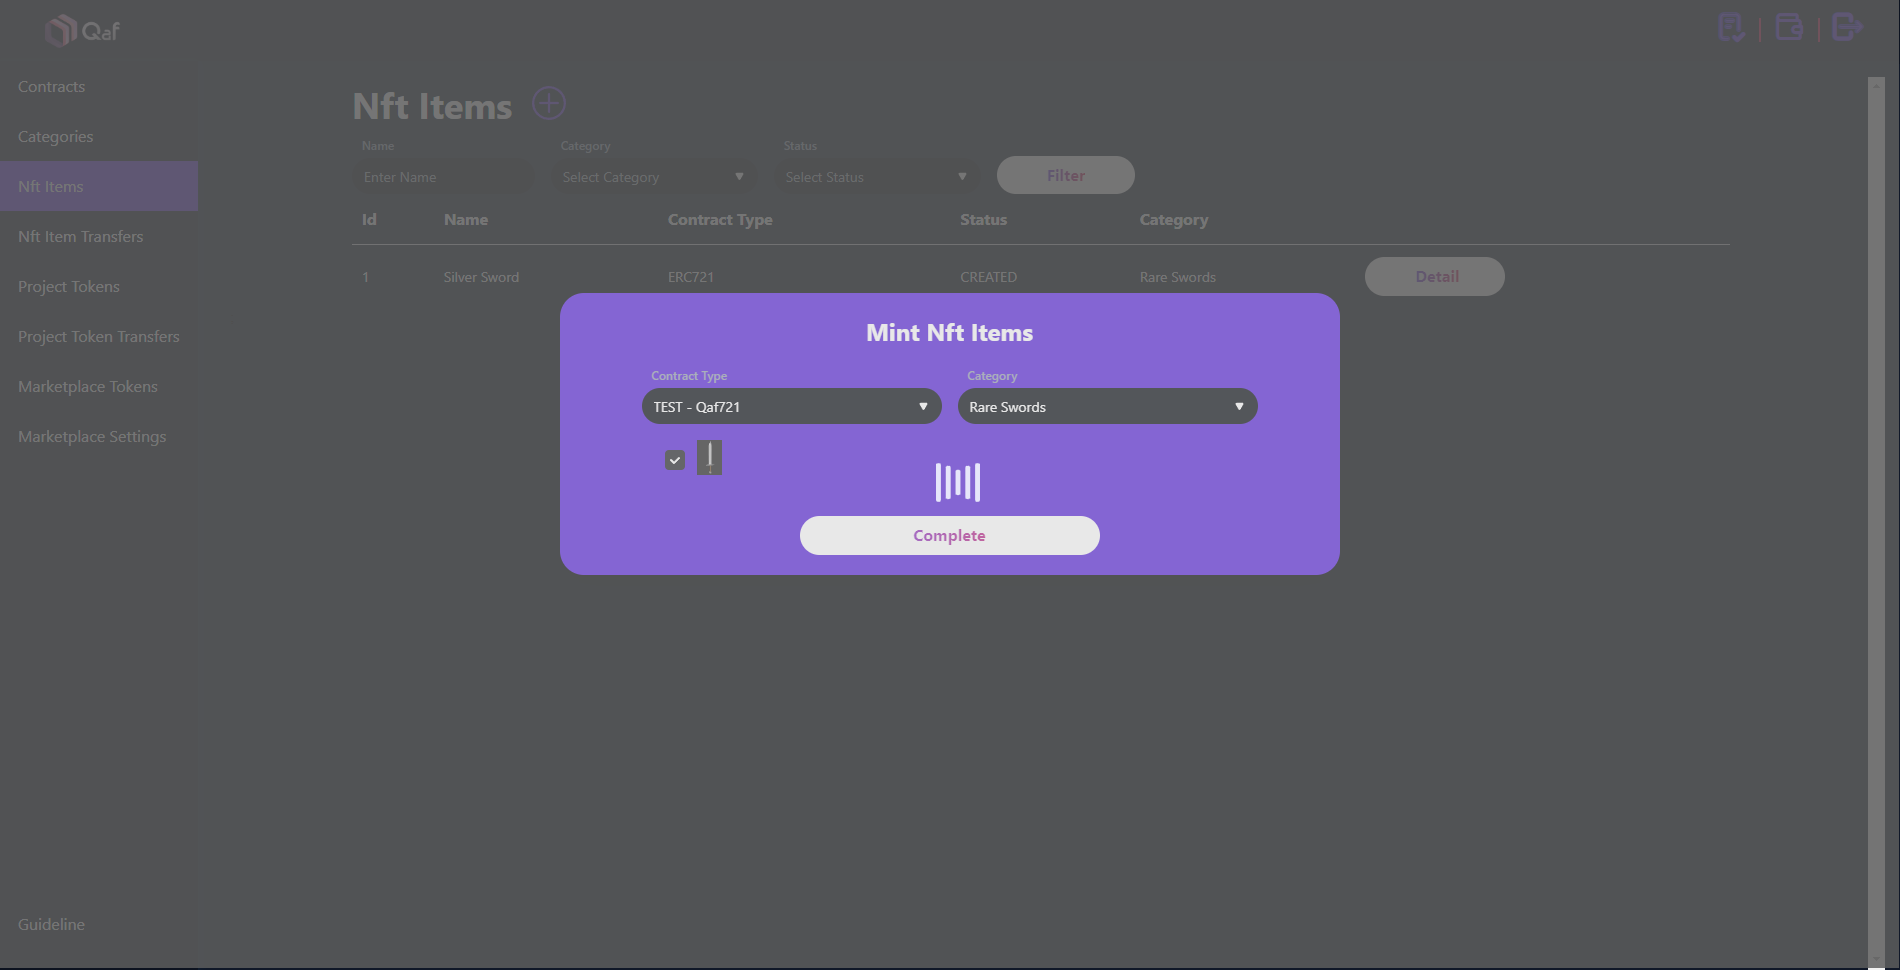
- Now, click the Mint NFT Items
button.
- Select your Contract Type and select your Category.
- Then choose the item(s) below that you want to mint.
- Press to Complete button.
- Congratulations! You have just minted your first NFT on QAF NFT.
- This will not trigger a non-custodial wallet transaction pop-up because wallet is used for minting the NFT.
- Now you can see your NFT item in BSC Testnet supporting NFT marketplaces.
- Check Opensea:
https://testnets.opensea.io/account


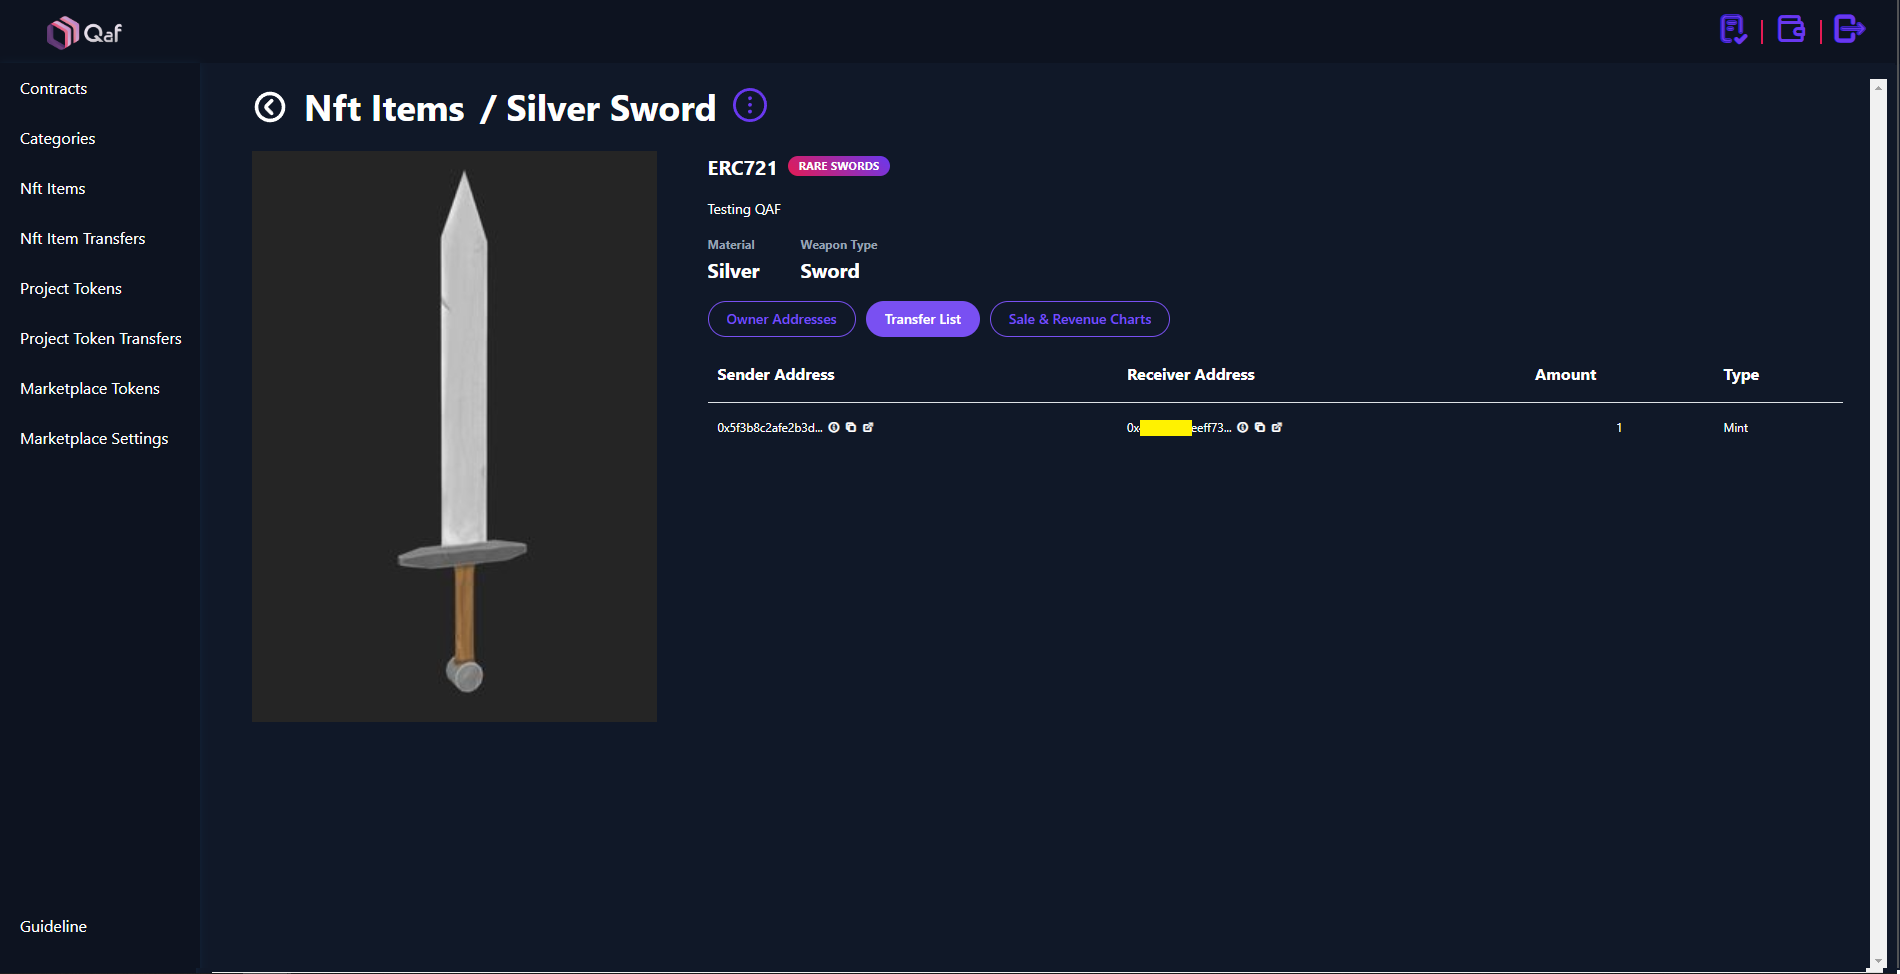
- You can also see the Transfer List and Sale & Revenue Charts of the item in details section.
- Transfer List shows you the transactions of the item (Mint, List, Sale, Transfer).
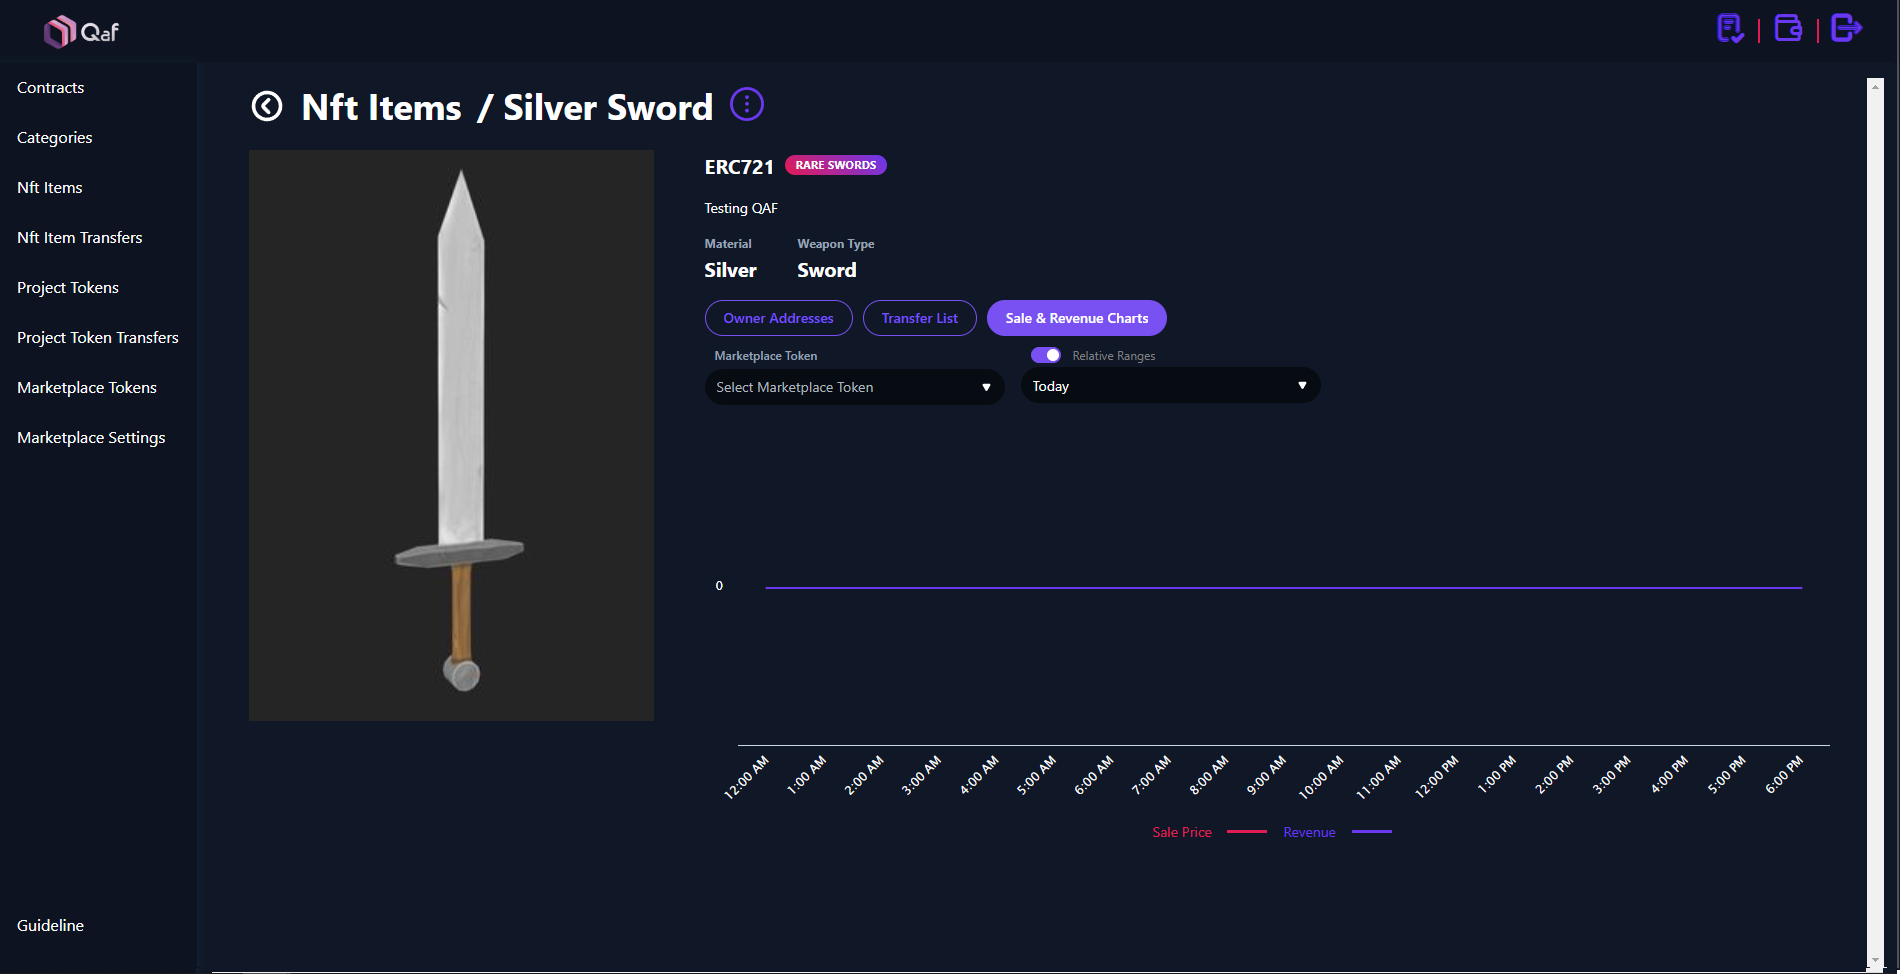
- Sale & Revenue Charts shows you the sale prices of NFT item and your revenue from these sales in a line chart.
That was it! I hope you enjoyed through the guide.
With QAF NFT, it is that easy to integrate NFT technology into your projects.
Be the pioneers of the Web3 Revolution with
QAF NFT.